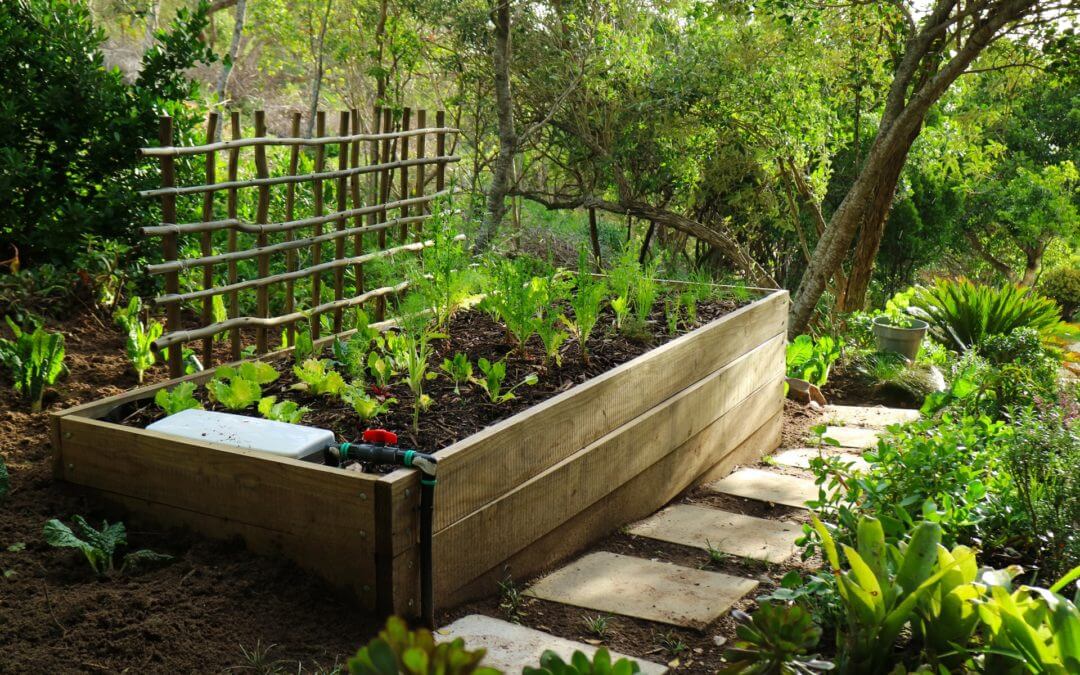
What is a Wicking Bed?
Invented by an Australian named Colin Austin, the idea with a wicking bed is that you prevent water from leaving the bottom of the bed with a waterproof liner or layer.
That way a water reservoir is being created underneath the soil.
This water is being “sucked up” by the soil, keeping it nice and moist WITHOUT needing to water the bed from above (by drip irrigation, or hoses or watering cans).
To separate the soil from the water (else you would get a muddy mess), you have the soil sitting on a layer of small stones. Then, between the soil and the stones you just need to add a sheet that wicks up the water from below but prevents the soil from washing down!
What are the pros and cons of a wicking bed?
Pros:
- Fewer weeds: The surface of wicking beds are often relatively dry. That way weeds have to difficult time to germinate.
- Use less water: I did mention that already, right? Wicking beds need up to 80% less water than normal raised beds!
- Water less often: Because the bed has its own water reservoir, the bed can go days, even weeks without watering (depending on how big your reservoir is).
- Grow on any surface: You can put up wicked beds ANYWHERE.
Cons:
- Trickier to install: Wicking beds need some skill to build properly! You will need to make sure they don’t leak etc. But with a bit of practice, I am sure you will get it right!
- More expensive: Wicking beds typically cost a bit more to set up than non-wicking beds. BUT on the other hand, they usually last longer (water doesn’t get in contact with the wood), the veggie yield is bigger and they need less water. So that should make up for the initial investment.
- More materials: Wicking beds generally require some non-renewable materials like poly pipes and liner. So to make it even more eco-friendly, it would be best if you reuse old material instead of buying new pipes etc.
How to construct a wicking bed from scratch
Now that we know what the benefits and weaknesses of wicking beds are, let’s build one!
-
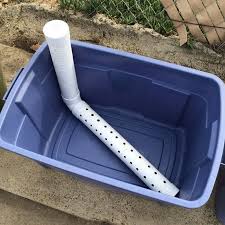
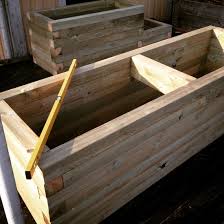
Step 1: Get a waterproof container
You can either use an old plastic container (make sure it doesn’t have holes) OR if you want a bigger bed, you can build one from wood and add a plastic liner to create a water reservoir!
The container should be around 60cm high. That way your water reservoir makes up 30cm and the ther 30cm you can use for the topsoil.
-
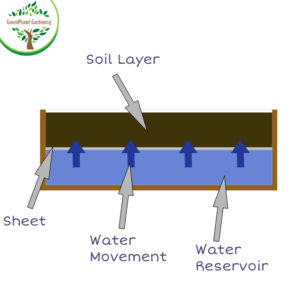
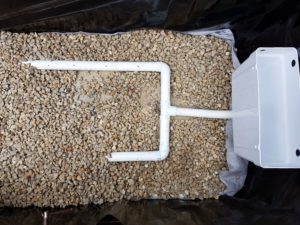
Step 2: Install the watering system
Now, you need to install some pipes to that you can use to water the wicked bed (remember: you don’t water a wicked bed from above!). You will need to add pipes to the bottom and also have a pipe reaching to the top of the bed (so you can fill in the water).
Then, make a hole into the bed, around 30 cm from the bottom (make sure it aligns with where the stone layer ends!) and insert a drainage pipe. That way your water can flow out once your water reservoir is full!
-
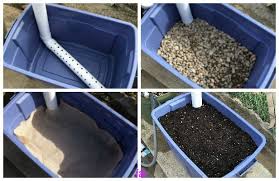
Step 3: Add the bedding material
Now one last step before we get to the fun part! Add the stone layer to the bottom of your bed (make sure it aligns with the drainage hole we drilled earlier). This layer should be around 30cm in height. Also, the stones should properly cover up the bottom pipes.
Then, add the sheet on the stone layer to seperate the stones from your soil. And finally, fill up the last 30cm of your container with gardening soil. If you really want to boost your plant’s growth you can add some of our vermicompost! A wicked bed is a perfect habitat for worms, so the eggs in our vermicompost should soon hatch and you will have some worms in your container!
-
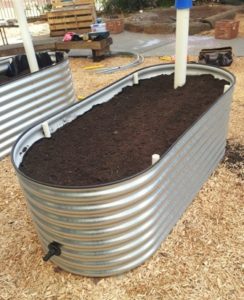
Step 4: Enjoy planting!
Finally, the fun part! Go wild with your planting!
And by the way, if you are more the visual learner, you can also watch this helpful video that I have found. It shows you exactly how to build your own wicking bed!
That’s it…
Here you have it! Now you are a “wicking bed master”! If you decide to build your own, definitely let us know!
This week you learned how to build beds that are water and labor-efficient. Next week I will show you exactly how to make your garden use less space while also reducing water consumption. I will show you how to use vertical gardening systems for your backyard!
Dear Victor,
What a great idea.
Im retiring and moving to Swakop next to Swakop river at Heritage Hill development end of next year (DV).
I plan on having my own fruit and veggie garden and this idea will fir the bill perfectly with wicking device. You will have make it for me though!!!!
Will contact you at he time.
Hey Juanita, that sounds absolutely amazing! Haha definitely – keep me updated and once everything is ready we will make sure to get your wicking beds up and running!
Help! Have followed instructions to the letter. Planted seeds, watered once as per instructions and then left it. A few seeds germinated (not many) and they have not thrived. Looks very dry, water in tube not reducing. Soil very dry on top; wetter further down.
can you help, please.
Great idea will try it…I am looking for worms, do you have maybe to sell and if what is your price.