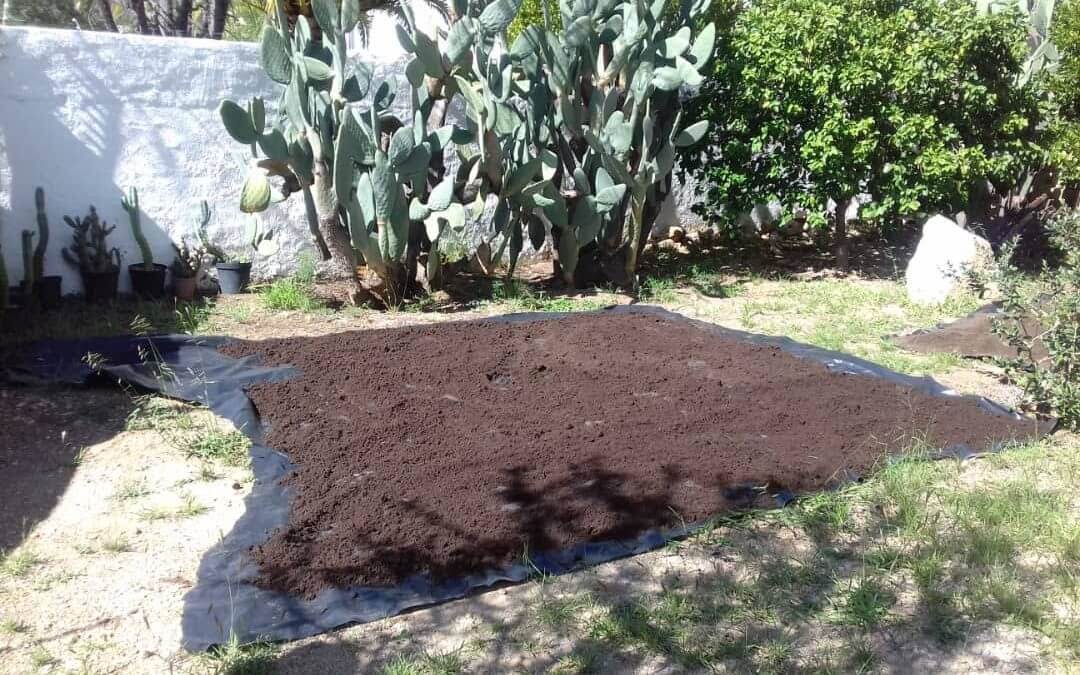
Sarah had finally taken the decision – that patch of sand in her backyard was going to be turned into a nice, green veggie garden to provide fresh produce for her family. After a 5000 dollar shopping spree for vegetable plants, she immediately plants and waters them, and kicks back to wait for her first harvest.
Well, three weeks later her garden looks just as before – dead and dry. Yep, that’s unfortunately what happens when you don’t focus on your soil first.
So, thank you, Sarah, for turning to me. Today, we are going to shine some light on the topic of soil and the importance of soil preparation here in Namibia. This will be the first part of an entire step-by-step beginners guide to growing vegetables and plants in Namibia, so buckle down and let’s get to work.
Step 1: What does good soil look like?
First, you need to go into your garden and take a look at your soil.
- The soil should feel fluffy like it is full of air, this being a sign it is getting plenty of oxygen.
- This is also a good time to see if there are lots of worms and insects in the soil, as this usually means the soil is fairly rich.
- Generally, dark brown or nearly black soil is best because it tends to mean the soil has a lot of decomposing organic matter and is rich in nutrients. Pale brown or nearly yellow soil tends to be less nutrient rich.
If you didn’t do much soil preparation yet your soil probably looks very different – don’t worry, we are going to fix that!
Step 2: Testing your soil type
There are generally three types of soil out there. The extremes vary and range from dry, desert-like sand, to 95% percent rocks held together by a bit of soil, to a heavy clay (the type that forms a slick, shoe-grabbing mass when wet, then turns into brick-hardness when dry). Go out into your garden and check what type of soil you have.
DIY Soil Test
There’s a simple test you can do yourself to understand the composition of your soil a little more scientifically. We are going to see how many parts of sand, clay, and silt you have in your garden.
- Take a sample of your soil – one cup should be enough – and put it into a transparent bottle of water. Shake the bottle well for at least a minute!
- Then put it on the floor and let it sit undisturbed.
- After one minute, take a marker and mark the level of settled particles in the jar – this is your sand.
- Then after five minutes, make another mark – this is your silt.
- And then let it stand overnight. All clay particles are going to settle, so you can easily see how much clay you have.
- Soil that has nearly equal percentages of sand, silt, and clay can have the best characteristics and is generally well suited for good gardening.
Understanding your soil’s PH value
To check the pH value is a bit trickier but here in Namibia we generally have a lot of limestone in the ground which makes our soil mostly alkaline (opposite of acidic). That’s a good thing – compost and vermicompost are generally slightly acidic. So simply adding those to your soil will help you get that balanced pH value your garden needs.
Step 3 – Testing Drainage
All the soil tests in the world won’t do a better job than this simple one. It tells you how quickly moisture moves through the soil and whether the soil is likely to be excessively dry or very soggy –neither of which is ideal.
When it hasn’t rained for a week or more and the soil is dry, dig several holes that are 1 foot deep and 2 feet wide. Fill them to the top with water and keep track of how long it takes for the holes to empty. Compare your findings to the following scale:
- 1 to 12 minutes: The soil is sharply drained and likely to be dry. You should add more clay-like soil
- 12 to 30 minutes: The soil has ideal drainage
- 30 minutes to 4 hours: Drainage is slow but adequate for plants that thrive in moist soil
- More than 4 hours: Drainage is poor and needs help
Finally …
These soil tests may seem like a lot of work but if your soil is working at its full capacity, your plants will bloom at their best. And remember, don’t rush to plant … understanding how to correctly prepare the soil for planting is the first step for a successful garden and can avoid costly plant loss.
Now that all the testing has been done, in our next blog post, I will show you exactly what materials to use to improve your soil! Stay tuned!


What plants are good for sandy loamy soils?